Hi Everybody!! I'm back with a little easy "how to" on what I call an umbrella circle for backgrounds or little flowers. In this layout below I used it for both.
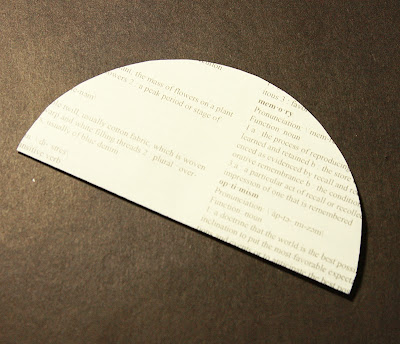
First start with a circle of any size, depending on what you want to use it for... Thinner paper is easier to work with when it comes time to trim the ends.
Fold in Half!
Fold in Half Again!
Fold in Half One More Time so You Have a Wedge!
Now cut the short end or bottom of the triangle in a slight circular fashion. You can use a rounded edge to draw a line to follow.
Now open up your umbrella and make all the folds so they face up!! Just refold all the edges in half!
Then you can go along all the folds and edges with ink.
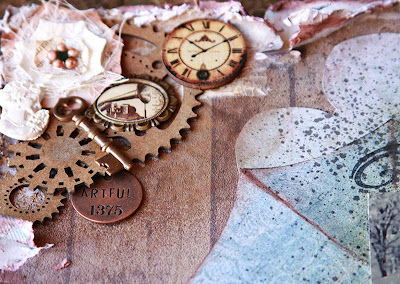
For the little flowers..... Just start with a 2" circle, 1.5" circle, and then a 1" circle and layer them up. I flopped my umbrellas over so the edges pop up and I used a little cheese cloth in between my layers and added some beads for my centers.

Thanks for stopping!! Below you will find a list of products that I used!!
Paper:
GCD Studios Natural Beauty
Ink:
Mix'd Media Inx CHOX - Driftwood
Mix'd Media Inx - Leather
Smooch Spritz - Green Olive, Wood Stain, Caramel Latte
Stamp:
Stampers Anonymous - Swirls
Chipboard:
Want 2 Scrap - Chipboard Gears
Tools:
Clearsnap Colorbox Stylus Handles and Tips
Zutter Distrezz it All
Miscellaneous:
Flowers
Shredded Paper
Gesso


