What is mixed media art... Well here is the definition of that; in visual art, refers to an artwork in the making of which more than one medium has been employed. In other words it's a lot of different things that normally you wouldn't throw together on the same piece of art. I'm SO loving that. For example if you take a canvas and apply inks, paints, and collage style art. It's such an awesome way to express yourself without boundaries!! This layout was done on 12x12 sheet of acrylic. I have never worked with an entire sheet of acrylic before and I made such a crazy mess and can't wait to do it again!! As a whole here is a quick description:

I call this layout "Spirit". Brooklyn's spirit just shines through this photograph and practically leaps out of it. I just love this photo. Here is what I used to create this page:
12x12 Sheet of Acrylic
Assorted Color of Tim Holtz Alchohol Inks (Pinks, Blues, Greens)
Silver Metallic Tim Holtz alcohol ink
Assorted Colors of Tim Holtz Ink Reinkers (Blues, Purples)
Blue Mesh Material
Black Acrylic Paint
Sewing Machine
Flowers
Wire Mesh
Brads
Black Pink Paislee Pixie Stix Sparkles

To get this affect on my acrylic sheet I splattered drops of my non metallic alcohol inks. Then I used my can of air to spread all the inks all over the areas of the sheet I wanted it. The nice thing about alcohol inks is they dry quickly. After that I took my Ranger blending tool and dropped some silver metallic alcohol ink on that. Then I daubed it all over my page (I actually used this on my photo as well before I placed it on my page). I smeared a little hear and there as well.
 After I inked I layed down my blue mesh and used a large dry brush to smear and coat it with black acrylic ink. Some of my mesh is raised and some lays flat. The two together make an awesome textured look. The two following pictures show what the mesh looks like up close. I also added a bit more silver alcohol ink to the top of my mesh next to the photo.
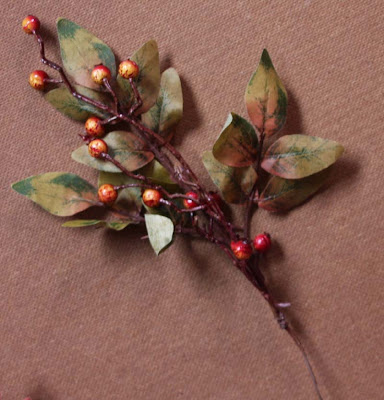
 Next I played with some yellow flowers I got at a local craft store. I soaked them in reinker ink and cover them in black sparkles. This was a bit messy but they look so cool. It took a little while for these puppies to dry but when they did I placed them sporadically on my pages. The butterfly mesh was actually left over from a diecut I used on another layout. Why waste right.?
That is pretty much it for my mixed media layout. I did do some stitching to the top with my sewing machine for added flare.

 I love this page. The paper came from a royalty free photo off the


